
First I needed to scan the old page. I thought about trying to scan each individual picture on the page separately, but there was a lot of tearing and wrinkling involved when I tried to get the pictures off the page. (Those glue sticks really packed a whallop!) So I just scanned the whole thing as a single image.
Brace yourself, it's not a pretty sight.
 |
Once I scanned the photo, I saved it in a Dropbox folder. And from there uploaded it to my camera roll, to make pulling it into the Project Life app a little bit faster than having to go to Dropbox each time.
I have set up my PL Preferences to always start a new page with Template Design A. And since you can easily change templates at any time, why stress about that right out of the gate?

I'm a big believer that if there are big card slots on the template, I try and use those for my pictures first, since that's what I want to see most--the pictures.
From my camera roll, I quickly pulled in three copies of that one scanned page, and positioned each one of the pictures into a big slot, without any resizing. I just pulled them in.

At this point, I could see that I had two verticle and one horizontal pictures to work with. I began to look through the available templates to try and find one that had at least that many slots (in the larger 4x6 size, and in those orientations).

I decided to keep the decisions to a minimum, and just went with Design D. So I got the pictures all settled it and sized the way I wanted them.

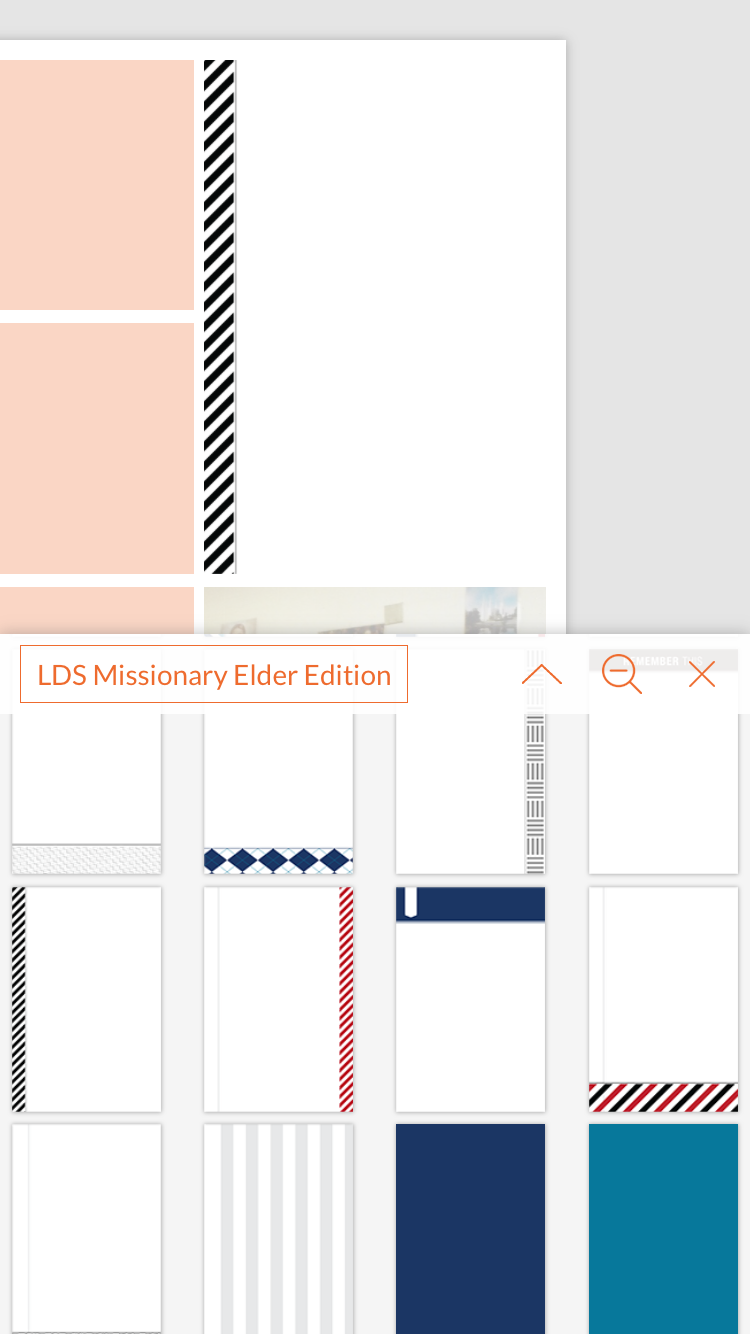
What my original paper page was missing was the depth of journaling I wanted, so I knew that I'd probably want the last large 4x6 space for journaling. I wanted to use a card without a lot of "design" elements that would eat up the journaling real estate on the card. Something that was maybe just a border design. I also knew that I wanted my color scheme to be black and white--it matched the shirts and slacks of the teachers in the photos, so that's what I looked for.
Turns out, the LDS Missionary Elder Edition card set was just what I was looking for. (Duh!) So I added a journal card to the last 4x6 opening.
Another of my Preferences in the app is to use the Amatic SC Bold font. I like it. It's masculine, relatively small, and thin. I referenced the original scrapbook page for what I had written there, and then expanded on it to make it more meaningful (you know, in case someone unfamiliar with me or my experiences were to read it). Once I had written everything I wanted to say, I center-justified it (my method of choice for journaling), enlarged the font size to fill the available space, then reduced the line spacing enough to squeeze the lines of text together a little bit more--so I could enlarge the font just a bit more to fill up as much space as possible, and be big enough for "old eyes".

So now I was left with those four 3x4 spaces on the template. As a general rule, I'm not overly fond of just putting in filler cards. I have to really love the card, the design, or pattern, and it has to really bring the whole page together for me. I looked through the filler cards in the Elder Edition set, and nothing really grabbed me. So again, I looked to my original page for inspiration.
M-T-C! I could use up three of the four slots with just those letters! I kept to the black and white theme and chose the letter cards from the ABC Themed-Black & White cards. There was a lot of white already in my journaling card, so I opted for the contrast.
But there was a little snag with that plan! When I tried to pull the ABC letter cards in, they weren't available in that orientation. Dang! So I went back to my templates, switched momentarily back to Design A (that did have the right orientation) and pulled the letters into that template. It messed up my other photos, but I would be switching back to Design D soon enough, so I wasn't super bugged.

 |
| Letter cards were going the wrong way. Easy to fix! |
 |
| Use the Rotate button to flip them around. |
 |
| Now we're cookin'! :) |

...done. My first analog to digital scrapbook page, finished!

Next, I just had to save the finished product.
Here's how I go about saving my app pages: First, I tap the little upload button in the bottom right corner of the app, and select Export.
Then I select 12"x 12" image. (I pick this option because it will gives me the best resolution quality).

Dropbox is my backup program of choice, so I choose Save to Dropbox.

Dropbox opens and asks me to save the file. The PL app automatically gives the file a name (since I didn't name it something specific within the app). It's a weird filename with a bunch of numbers that represents the date the page was created, the words "project life", a string of random letters and numbers, and then the .jpg file extension since it's a picture file.

I always tap on this file name and change it. I always name my files with the year the page represents (in this case 1992) then a dash, then a short description of the page (MTC Teachers). Then I choose the folder location where I want the page to be saved. I have my Dropbox set up with year folders, so I either choose from the list of folders I've most recently used, or tap Choose a Different Folder, and find the one I want. Then I tap Save in the upper right corner and it saves.

Once it's saved, the PL app opens again, and I repeat the process of selecting the export icon, then Export, then instead of 12x12, I choose the Editable Backup option. I again choose to save in Dropbox, so I choose that option and it opens my Dropbox screen again. I rename the file using the same file name as when I saved the .jpg image, but notice that this time, the file extension is .plpage instead of .jpg--that's an easy way to distinguish whether you are saving the photo or the editable file. (Trust me, if you get in a rush or have been creating and backing up pages for a few hours, it all starts to blend together and you might not remember just which version you are working on!)
Once I've renamed the editable file, I make sure to select the same folder where the picture file was saved, and then tap Save.
At this point I will usually get out of the PL app, and open the Dropbox app independently just to double-check that things got actually got saved. Better safe than sorry because...

...once I determine that things are where they should be, I go back to the PL app and DELETE the page.
That might shock some people, but you see, my phone doesn't have a whole lot of storage space, so if I have backed-up both the page and the editable version, I feel like I can delete it from my app, because with that editable backup on Dropbox , I can always pull back in at any time if I need to.
So that's it. That's my process. As I create other pages in the future, I probably won't go into this much detail, but will try to at least share my "in progress" photos of how I'm taking those physical paper pages and transforming them digitally with the PL app, and share any shortcuts or ideas I have while doing it!
I’m really liking the idea of saving an editable backup in Dropbox so that you can delete the page out of the PL app. I don’t like that I’m keeping all the pages I’ve already printed but didn’t feel good about deleting them without having a way to get them back, should I need it. Thanks for explaining your process!
ReplyDeleteThank you for this blog post. Did you use an app to scan your old pages? Or, did you use a traditional scanner?
ReplyDeleteI use a traditional flat-bed scanner. I'm actually going to a Family History Center today and have just a few (287, most double-sided) pages to try and get scanned during my 2-hour appointment! Wish me luck! :)
DeleteI am so happy I found you on Instagram and now your blog, too! This is so incredibly helpful. Thank you!
ReplyDelete