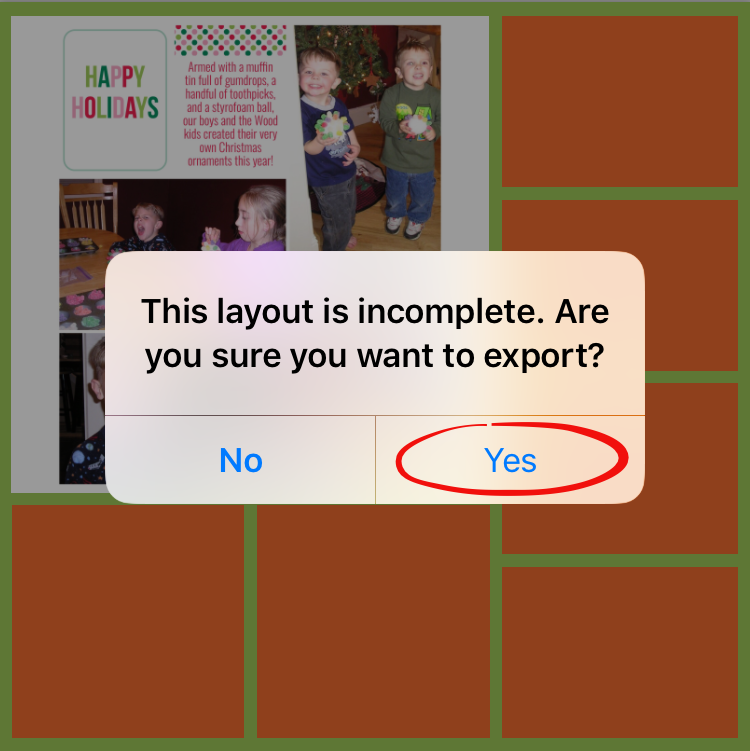
Now that we've all had a chance to play around with that technique, some people are taking that to the next level! Meagan Johnson, part of the Project Life Creative Team for 2018, who I've only ever met online via the Simply Project Life Facebook Group, has blown me out of the water with her take on the matte effect - using patterned filler cards from the PL app!
I've looked at her page creations online, and have written up this tutorial on how I went about creating a pattered card matte effect.
You can either create a whole page as you normally would in the PL app, or just use a single photo as the focal point. I'm going to demonstrate with a single photo here to start with, then end with the same process for a whole page as the focal point.
Find the photo you want to work with, and pull it into the center card slot of the Squared Away 16 Template.

Next, find a card collection that contains the pattern you want to use. You have a lot of options on how you do this. You could choose cards that have a pattern throughout the space on the card, or cards that just have the pattern along one edge--though with those kinds of cards, you'll have to export and rotate them and bring them back into the page as photos so that when you put them the card slots, the pattern is on the edge that's right up next to your photo. For this page, I decided to make it easy on myself and just use a fully patterned card from the Modern Wedding Edition kit.
 |
| Then I changed the background color to a pink from that kit. |
That was it for this first part of the process. So I exported the page as a 12x12 and saved it to my phone's camera roll.


For the next steps, I needed to bring that page back into the app as a photo, using the Collage section of the app...

I used the 12x12 square template and brought in the whole page I'd saved as a photo.

Then I had to pinch and zoom so that I had the photo and as much of the patterned cards (now acting as my border) that I wanted. I opted for a little bit thicker of a border, so I didn't pinch and zoom quite as much!

Once I had the photo and border how I liked them, I exported that page as a 12x12 as well.

For some people, if you like how this all looks, this might be the final step. But if you want to add text on the page, you'll want to keep on reading :)
I brought the page back in as a photo via the 12x12 collage step outlined above, so I could add my FFT (free form text).

Once the text was added, I saved it one last time as a 12x12 image, and filed it away in my ever growing "To Print" folder on my computer. (I seriously need to win the lottery to afford all the pages I've got stored there--going on 700!)
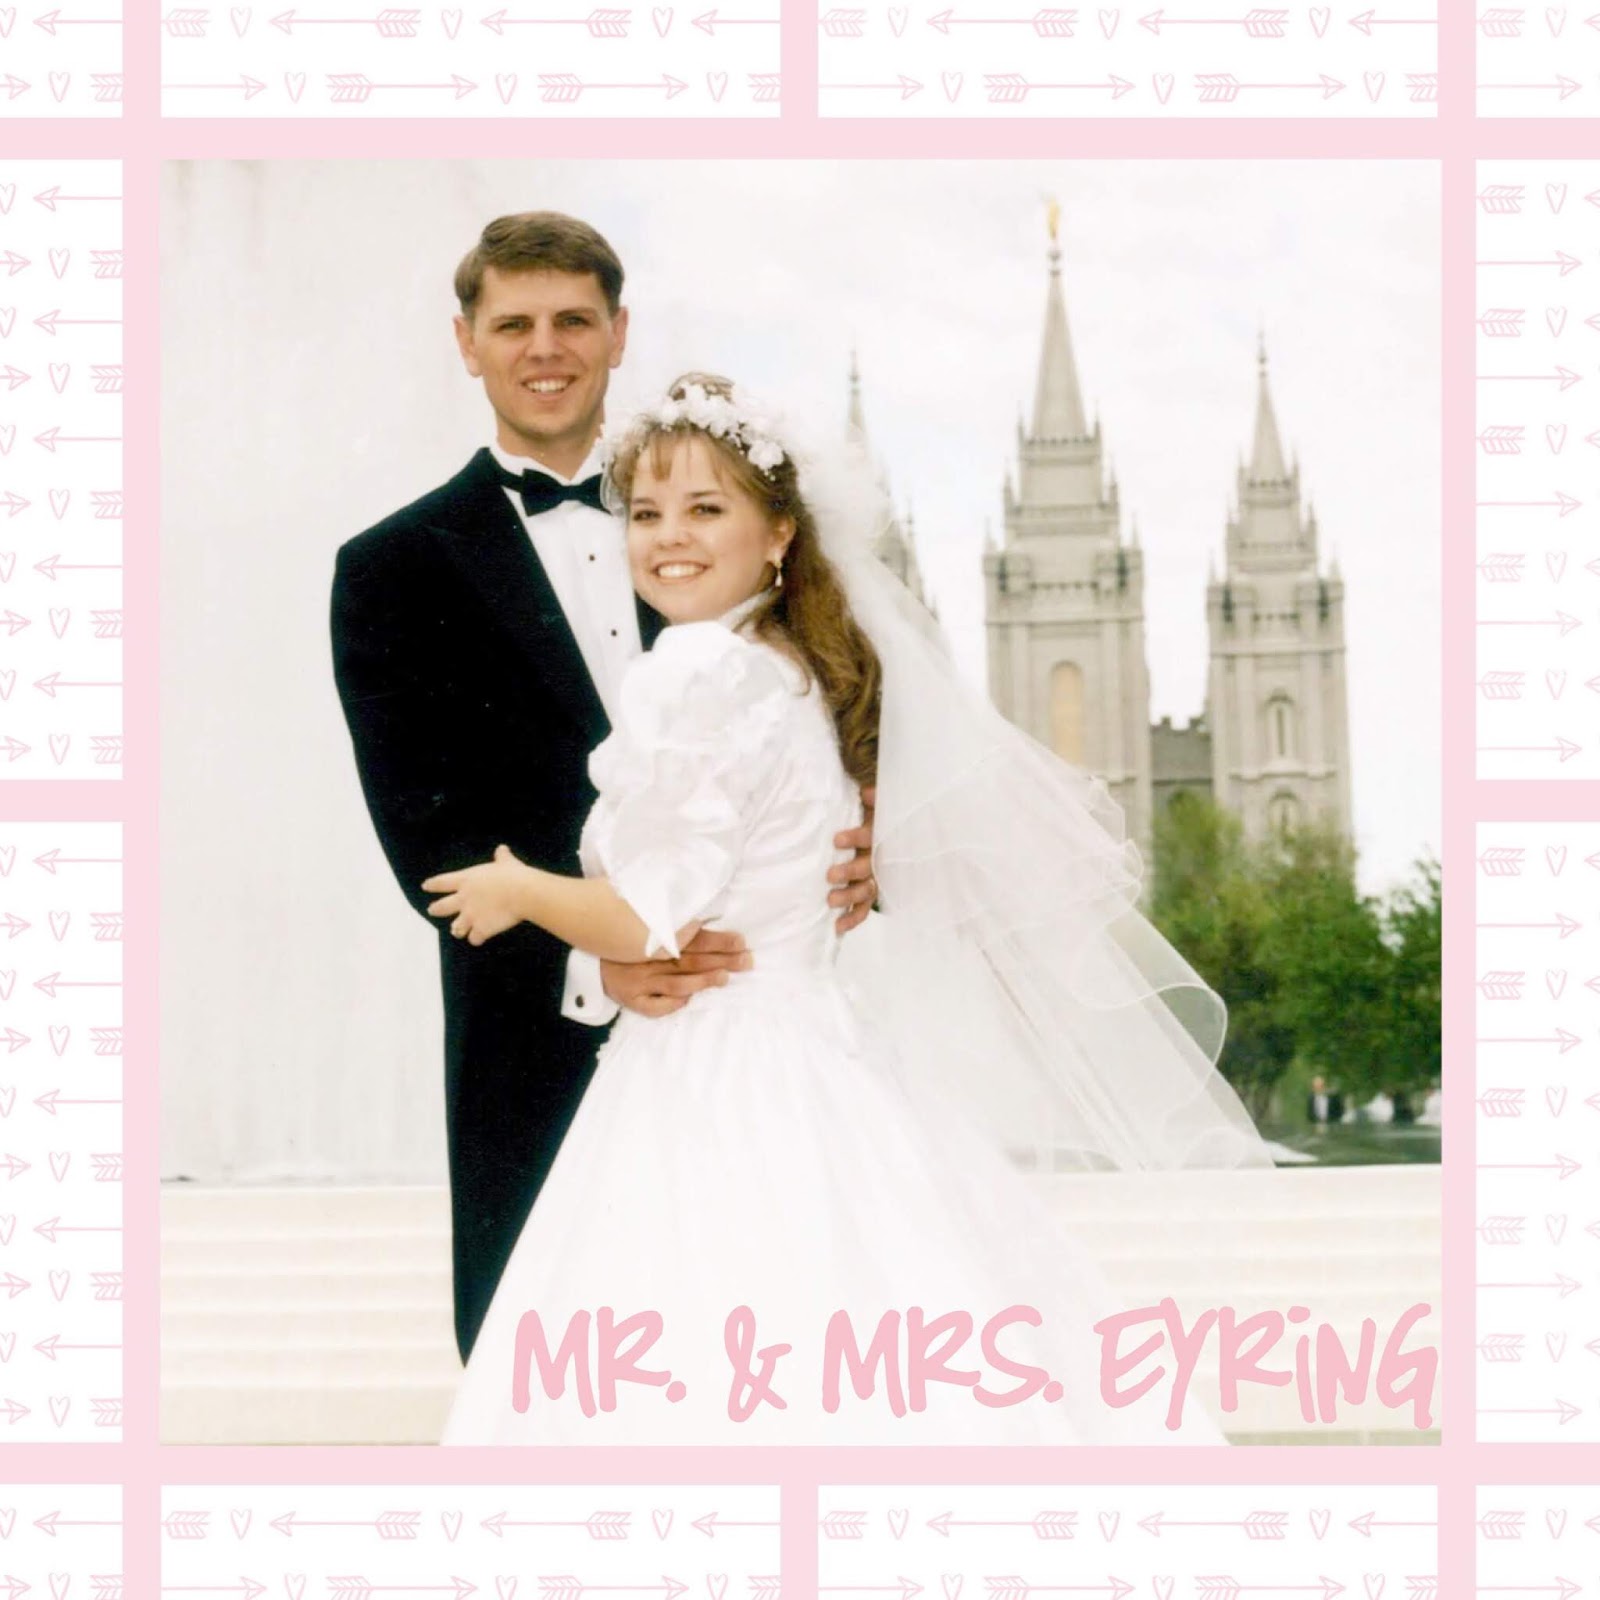 |
| Finished product! |
Now like I said at the get-go of this post, you can use this process for a single photo focus, or you can create a whole page to put in the middle of your patterned border.
The same process applies, you just start off with your full page completed first...

...then export it as a 12x12, bring it into the center slot of Big Shot 16 Template and add your patterned cards all around...

...export that as a 12x12 and then bring it back in through the collage section, pinching and zooming to get the thickness of border I liked.

Voila! From here you could add a layer (or two) of a solid color matte--for those instructions read the post before this! You'd get something that ends up looking like this if you did.

*Disclaimer* - Since there is a whole lot of exporting and importing as a photo going on, you may want to initially create your whole page with a blank journaling card, and then when you've gotten the matte borders all finished up, THEN go in and add your journal as FFT. I don't know how well the journaling will print with all the pinching and zooming and exporting that this process takes, so adding that at the very end may be better. Meagan Johnson has printed pages made with this method (adding journaling first) and said there is a little bit of blurring that happens with all the exporting.